So about 3 months ago I was in Good Will searching for hurricane vases to do a super fantastic outdoor lantern project that I found here at
inmyownstyle.com. If you have never been to this site, you should visit it immediately. This site is life changing! But I digress. So ofcourse, being a woman I went in for one thing and came out with something completely unrelated. There was the most beautiful dresser next to the glass section, just BEGGING me to take it home, I mean it practically crawled into the truck.
 |
| Hello Beautiful! |
Some of the drawers were sticking because it was painted white already but I could see the wood underneath the chipping paint was in great shape. The sticking drawers didn't bother me - the structure was sound, all the original hardware was there, the shape and size were GORGEOUS. Oh, did I mention the price tag? $42. SOLD!
Ok, so my beautiful new dresser and I are on our way home...
2 months go by...and it's time to make this beauty into all she can be! No, she's not joining the army. So here we go!
I knew exactly what color I wanted it to be, my favorite - green. Pottery Barn has the most BEAUTIFUL piece called the Daniella Chest that is an antique inspired green bedside table. Small and pricey but oh so gorgeous...thank you PB for my color palette!
 |
| Inspiration - Daniella Chest via Pottery Barn |
From Trash to Treasure!
Tools Required:
- Paint of Your Choice - I only used about 1/4 of a gallon of Behr Premium Plus, Flat - Color Matched to Valspar Dog Park *If you want to make it chalk paint, mix with white unsanded grout*
- Wood Putty - I used Dap Plastic Wood
- Stain - I used Oil Based Minwax Jacobean
- Polyurethane - I used Minwax Oil Based Satin Finish
- Sand Paper - 150 Grit & 220 Grit
- Sander - Not required, but makes life easier
- Putty Knife (For Wood Putty)
- Paint Brush - Regular Synthetic for Paint
- Paint Brush - Natural Fiber only required if using oil based stains & poly
- Foam Brushes - For Polyurethane
- Spray Paint - If reusing hardware; I used Rustoleum Oil Rubbed Bronze (LOVE)
- Rubber Gloves
- Mineral Spirits - Only required if you're using oil based stain/poly - used for washing brushes
- Paint Thinner - Only required if you are reusing hardware and if it's painted
Here we go...
- Step 1 - Carefully unstick the drawers and remove them. Don't yank b/c you could damage the hardware, try pushing Only 3 of them were sticking so out of 9 that's not too bad.
- Step 2 - Remove the hardware. Again, don't yank. I reused mine, so I set mine aside and placed all the screws in a plastic ziplock baggy until I needed to reuse them - we will come back to how to remove the GLOPPED on paint.
- Step 3 - Fill any gashes, holes, chunks, scratches etc. If you are going for the farmhouse look, keep the gashes if you want. I had about a 2" hole in one of my legs that I wasn't feeling. I like a little age on my furniture but not the shark attack look. I used Dap Plastic Wood, applied with a putty knife. Here are some helpful tips when using Plastic Wood:
- Tip 1 - This comes upside down, keep it stored this way when not in use
- Tip 2 - This stuff dries VERY fast, so work quickly!
- Tip 3 - It says on the little tin to apply a thin layer, let it dry and then come back and repeat if you have a deep/large hole - there is a reason for this being on the can...listen to this advice! Ok?
- Tip 4 - Remember to close it when you're done unless you want a dried up can. :)
- Step 4 - Let your plastic wood dry, sand your plastic wood and any other areas that have paint drips on both the dresser body and the drawers - Obviously if you are refinishing a piece without paint on it, this step doesn't apply. Whoever painted my dresser might have been tipsy. So I had some sanding to do. I also did some EXTRA sanding b/c I wanted some of my wood to show through in the finished product. **Make sure to sand with the grain**
- Step 5 - Clean, clean, clean!! Scrub this bad boy down...clean the outside, inside, underside...any side you can find! I did a blow dry with our air compressor (use a dust broom if you don't have an air compressor...you don't have an air compressor??!) and then some soap and water as well. After all, this is going to house my collection of beautiful clothes!
- Step 6 - Time to PAINT! ! I used Behr Premium Plus in a color matched color to Valspar Dog Park, Flat. Yes, I could've used Valspar Paint, but I personally don't like it. Just a personal preference. Just like I'm a Target girl, I'm a Behr/Home Depot Girl. You can use whatever your heart desires.
- **Tip** If you're painting on plain wood, try mixing 1 cup of paint with 2 tsp. of grout to make your own chalk paint - it will adhere better to the furniture.
- Tip 2 - If you have a Benjamin Moore or Sherwin Williams color you like, just bring the swatch to HD or Lowes - they got this color spot on! Why pay full price when you don't have to??
- Tip 3 - I bought an entire gallon of this paint b/c I'm ummm obsessed with the color. You absolutely do not need a gallon of paint. I used about 1/4. I will be using this color elsewhere in the house.
- Paint 2 coats of your desired paint - letting it dry the appropriate amount of time in between. I painted my first coat, then came back the next day b/c I was doing this on weeknights. I didn't use any special type of brush, just a regular Purdy that you would use for the walls. If you don't know what a Purdy brush is, you should...they are the best!
 |
| Close up of Color |
 |
| After 2 Coats of Paint! |
 |
| Painted drawers sans hardware |
- Step 7 - Sand! Again? Yes! Sand again! This is so that the wood will show through, and in my case some of the white paint as well. I was going for the distressed look. So sand your heart out! Doesn't have to be a lot, I used 150 grit. Rough that baby up as desired. Wherever the wood is showing will become darker with your stain color choice. **Remember, we're sanding with the grain!**
- Step 8 - clean up again - air compressor & broom!
- Step 9 - time to antique! I used minwax jacobean - now this is an oil based stain. I was doing this in an open garage. If you are in a basement or a room without ventilation you should not pick an oil base! Since I had an oil base stain, I used my natural fiber brush and got to staining. Now it says on the stain to only let this stay on for like 3 minutes? And not to put it over paint...oh well! Worked for me! Infact...I left ALL of my stain on without wiping it off! Shhh...don't tell Bob Villa on me.
- Ok, so I left the stain on b/c I had an inspiration piece in my head. I wanted a much darker dirtier green piece. Should you leave the stain on? Probably not. My brush marks were ruined in the poly stage but I was able to re-work the stain with the poly and "make it work". - Tim Gund fans? Anybody? In reality, you should do multiple thin layers and wipe them off per their instructions...but I'm telling you what I DID and it worked out for me.
- Some tips when staining:
- Do yourself a huge favor and wear plastic gloves unless you want to look like you've been digging in A LOT of dirt!
- Work in small areas at a time. Areas I did at a time - the side of the dresser, worked in 1 drawer area at a time before moving to the next. I did the top last.
- If you don't want brush marks - use a foam brush. I wanted the aged look so I wanted the brush marks.
- Yes, you should wipe it off...but I didn't and I lived to tell the tale!
- If you have a drip mark or don't like the way the stain looks in a certain area, reapply more stain as quickly as possible - this worked for me.
- If you're going for the antique / french look - apply more stain in the corners or in any detailing.
- Again, I used oil-based stain b/c I was in my garage with a fan on, doors open...plenty of ventilation. If you are indoors, use water based stain! - There is actually a much wider variety of colors available if you want water based. You can pick a color and bring it to the paint station and have it tinted JUST FOR YOU!
- Why did I pick oil-based then? I picked oil-based b/c I just LOVE using mineral spirits to clean my brushes! hahahah No, I used oil-based stain b/c oil-based poly will yellow over time while water-based will not. I wanted the yellowing affect b/c I thought it would give that extra punch of authenticity to my dresser. If you are going for a cleaner look or using a color that won't look so hot with a yellow tinge...again go for water based.
 |
| Close up - See the white turned yellow from the stain, all that sanding paid off ...ooo la la |
 |
| Stain added - Minwax Jacobean |
 |
| Staining in the details for the aged affect. GORGEOUS DAWLING! |
 |
| The top - pre-poly disaster which actually made it look better. I used long brush strokes to achieve this effect. Remember, if you don't like how your stain looks, quickly apply some more on and re configure! |
 |
| I bet this baby would sell for more than $42! |
- OK, so once you have your stain applied (and wiped off if you aren't as brave as me), it is time for the worst part - Poly! I don't know what it is that I hate about this glop...but OMG I hate it. Ok, so again, I used oil-based satin finish polyurethane. If you used water based stain, you should use water based poly. If you're using oil based, you will need to use a natural fiber brush or foam applicator. Apply this in the same fashion that you applied your stain. As I mentioned earlier - oil based will naturally yellow over time, water will stay clear.
- Once the poly has completely dried, COMPLETELY, I mean not tacky AT ALL...yea, Ron tried to help me out by sanding for me before I got home and it was still tacky, I had a polka dotted dresser...don't go down that road...OK? Sand your dresser again, for the millionth time this time with a fine sand paper - like 220.
- Reapply a FINAL coat of poly. If you don't want brush marks, use a foam brush. If you see a line when it's wet, you will see that line forever so have a make it work moment and do a good job!
- Now back to your knobs...soak those puppies in paint thinner in a metal container* -we used an old pie dish for atleast 2 days. Have them covered completely and when all the paint thinner is evapporated, that is when it is time to remove the knobs. By this time you should be able to peel the old paint off.
- *Fun fact - did you know that if you put paint thinner or mineral spirits in thin plastic like a solo cup it will burn through it? I didn't! Learn from my mistakes!!
- Buff any extra paint out of nooks and crannies
- Lay all hardware out on a large plastic drop cloth
- I painted mine with Rustoleum Oil Rubbed Bronze.
- Spray 2 coats - waiting appropriate time in between, make sure you step back the appropriate distance when you're spraying and don't overspray. Otherwise you will be peeling these off your plastic drop cloth! I know you want them COATED with the first coat b/c you're impatient like me, but it's ok to do 2 coats and be patient...we've come this far!
- Now has come the time to put your drawer pulls back in, put your drawers back in the dresser and admire your amazing handy work!!
 |
| My Knobs with a face lift! |
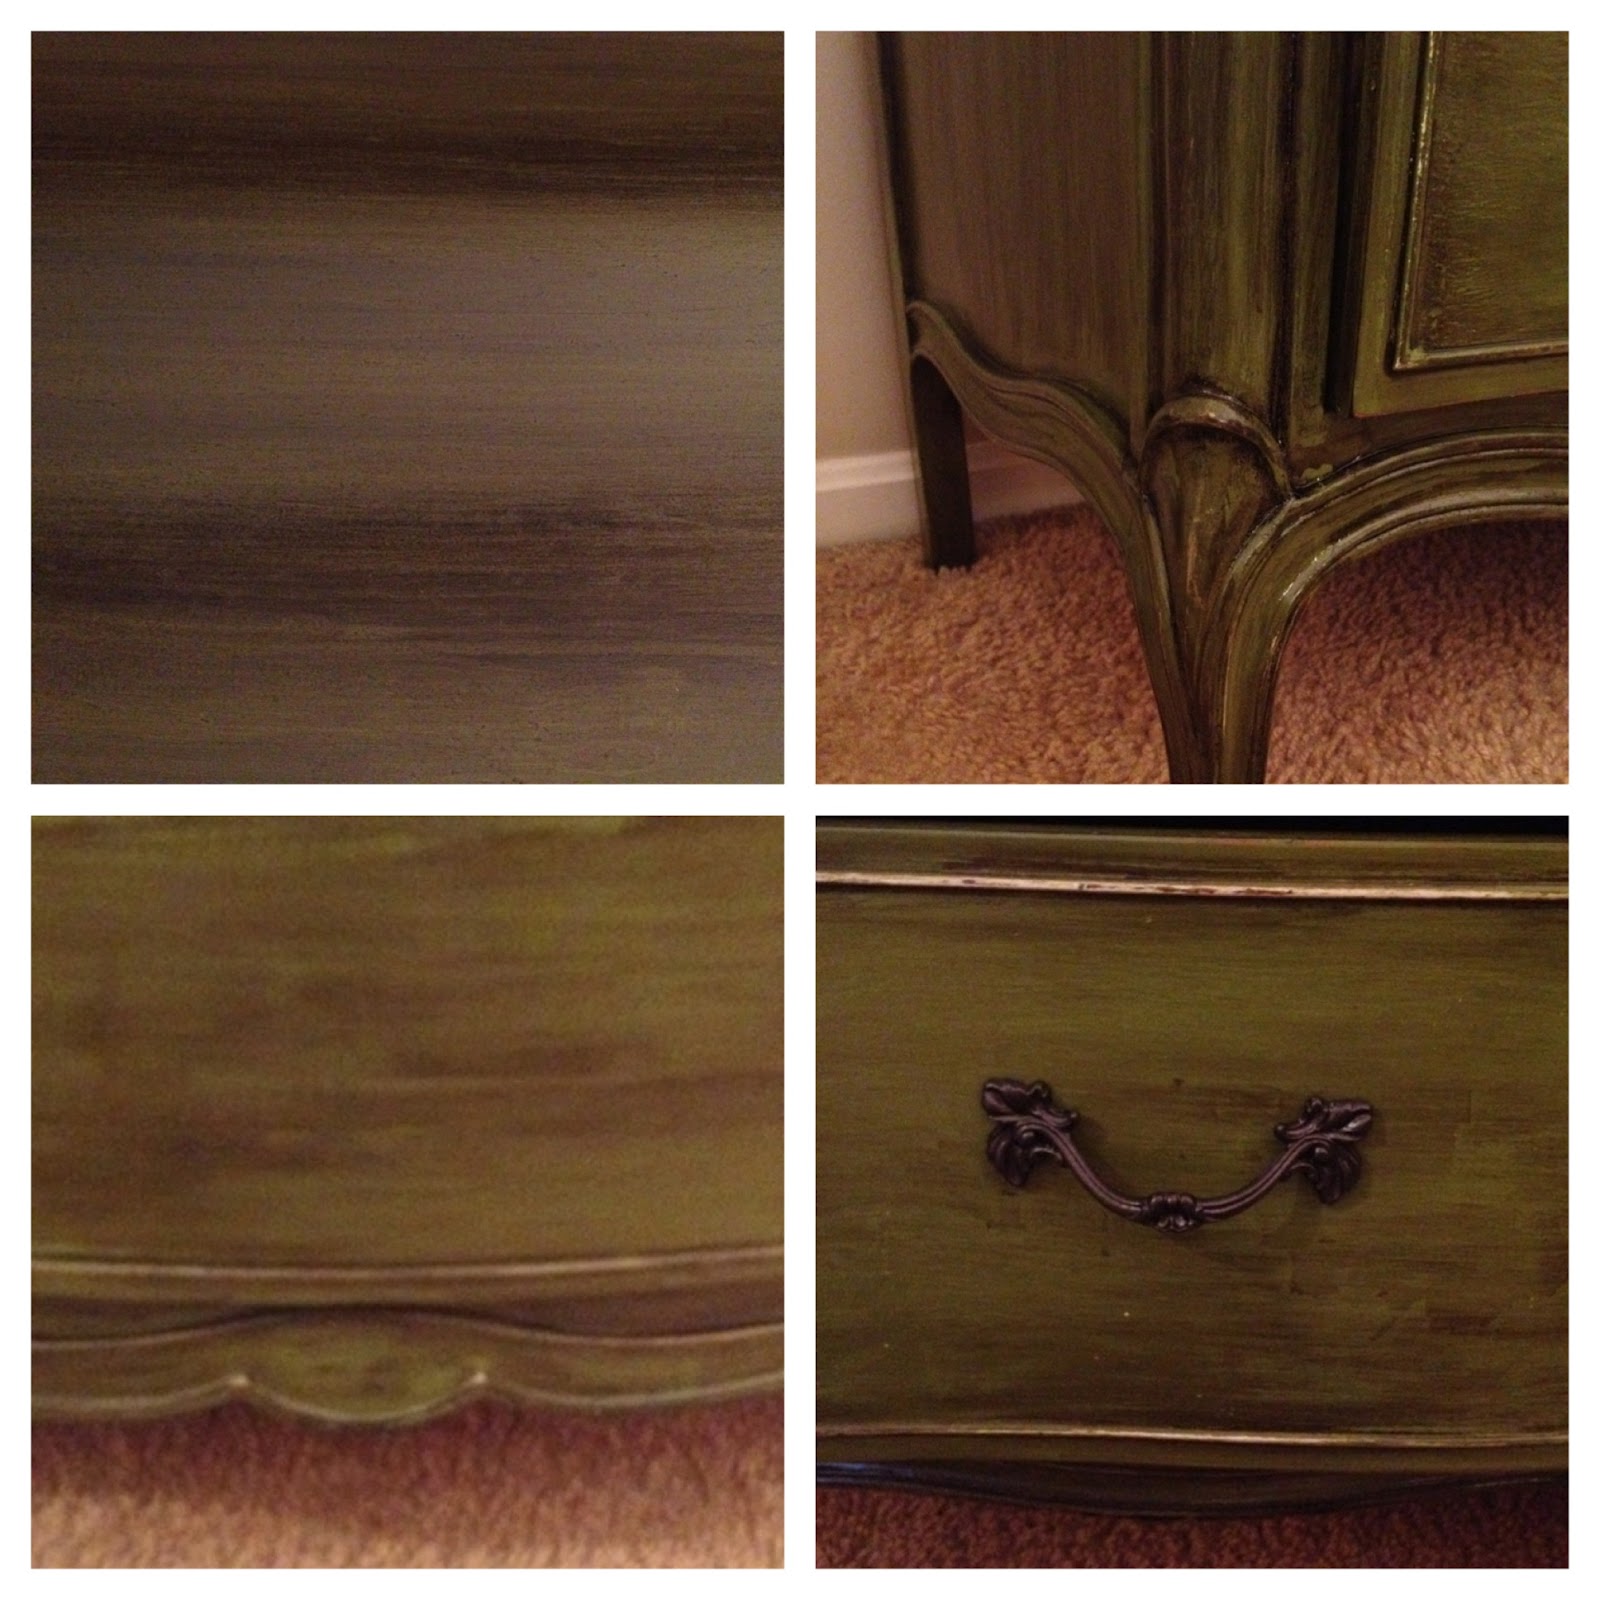
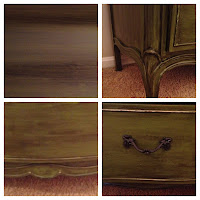 |
| All about the Details - Top, Legs, Exposed Wood / Previous Paint & Ofcourse My Refinished Knobs! |
 |
| TA-DA!!!!!!! |
Here is the best part of my work, you know other than the fact that I have a 1 of a kind piece that I put my hard work, SWEAT, and love into and I will have it to cherish for the rest of my life...I found the stamp of who the dresser is made by, Drexel Heritage. I called a company who sells almost the exact dresser - retail cost $2300. Not too shabby for a $90 total project.
Just a refresher of the transformation!
 |
| Not too shabby! |
So hopefully my project has inspired you to take the plunge and give furniture refinishing a try! Remember I told you that I'm crazy OCD? I didn't anticipate this turning out exactly how I planned. I was VERY stressed about the staining and it coming out how I wanted it. Even though I like the rustic/antique look...it needs to look like it is actually antique, not like I tried to make it that way...you know? I was super super stressed but it actually worked out exactly how I planned, if not better. This is a zero corona/vino induced project. Just take the plunge and you will love every minute of it, I promise! I mean, look at your end result...how could you not?
Until next time...


No comments:
Post a Comment